-

-

+86-0576-86655111
-

Wenling , Zhejiang, China
+86-0576-86655111
Wenling , Zhejiang, China
News
 2019.11.09
 Industry News
Electric crimping pliers, also called electric cable strippers, are necessary tools for the electric power industry to carry out wire crimping in the basic construction and line maintenance of the line. Commonly used for the aluminum core multi (single) strand wire straight connection, or aluminum core multi (single) strand wire and equipment bolt crimping terminal block connection. Here are the common wiring steps for everyone.
Aluminum core multi (single) strand wire connection method
1. Select the appropriate aluminum lug according to the thickness of the core wire. The oxide layer on the inner wall of the lug socket is also brushed off. It is also to apply Vaseline zinc powder paste on the inner wall.
2. Select the appropriate wire mold, press two pits on the front of the lug, press the outer pit , then press the pit, the two pits should be in a straight line. Brush the oxide layer on the back of the lug and apply evenly Vaseline zinc powder paste.
3. Wrap the insulation tape between the root of the wiring lug and the wire stripping insulation (the insulation tape should be wrapped from the wire insulation). Put the back of the lug down, put it on the screw of the terminal, and then put on the flat washer and spring washer in turn, and fix it tightly with the nut.
Aluminum core multi (single) strand wire straight connection method
1. Select the lamination and elliptical aluminum sleeve according to the cross section of the wire; strip the insulation sheath of the joint at the joint, and strip the length to be the length of the aluminum sleeve plus 5~10mm (the bare aluminum line does not have this item) , using a wire brush to remove the oxide layer (film) on the surface of the core wire;
2. Use a round wire brush to remove the oxide layer and grease stain on the inner wall of the aluminum sleeve. It is also to apply Vaseline zinc powder paste on the inner wall of the tube. According to the thickness of the aluminum sleeve, an appropriate wire mold is selected on the crimping pliers, and after tightening the positioning screw, the core wire sheathed with the aluminum sleeve is embedded in the wire mold.
3. Align the aluminum sleeve and force the clamp handle to press the pressure: press the two pits at both ends, then press the two pits in the middle, and the pressure pit should be always on. There should be no cracks in the aluminum casing; the wires outside the aluminum casing must not have a "lantern" shaped drum bag or "crust" shape.
4. Wipe off the remaining grease and apply a layer of quick-drying asphalt paint on both ends of the aluminum sleeve and at the joint. Then, the aluminum sleeve and the exposed wire part are wrapped with two layers of yellow wax tape, and then two layers of black tape are wrapped, and the insulation layer is held 20 mm away.
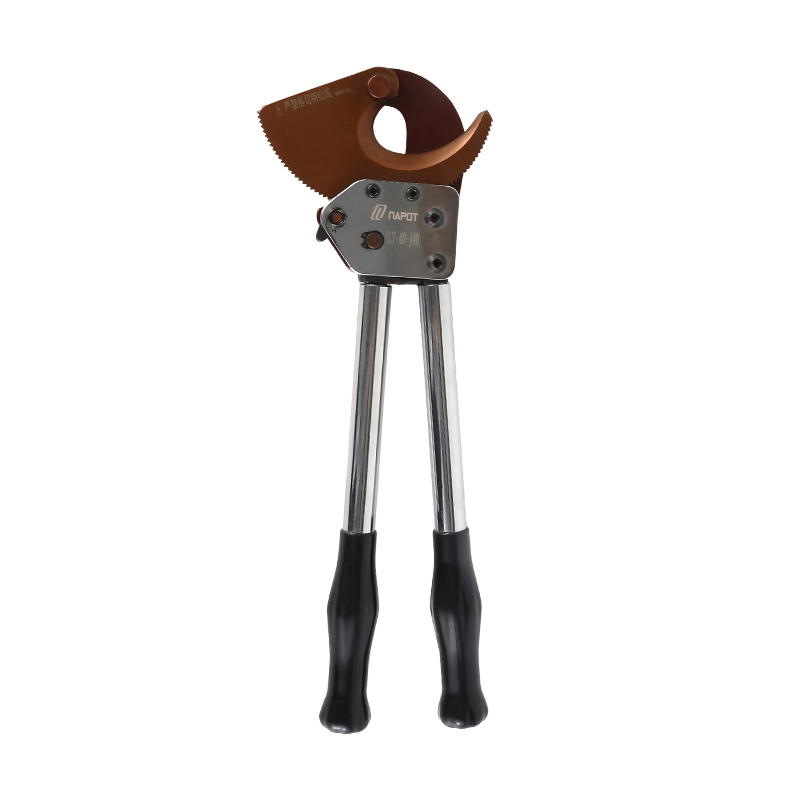
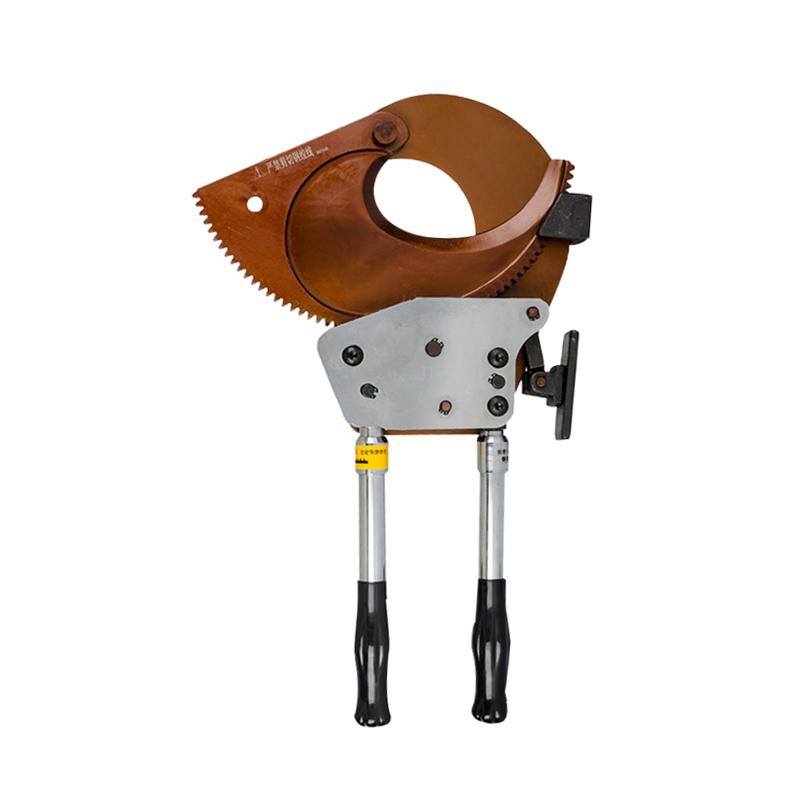
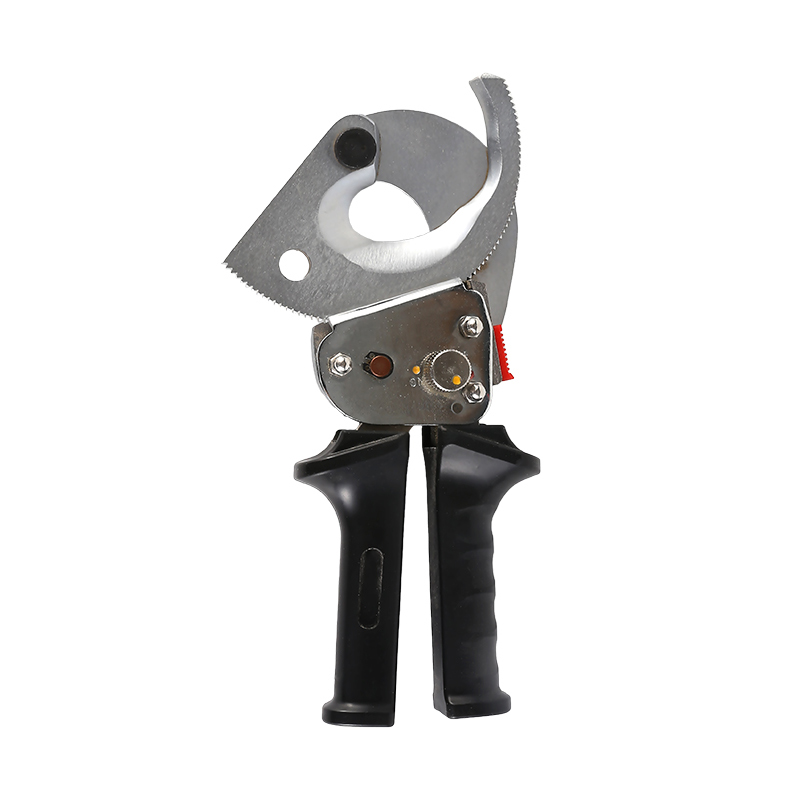
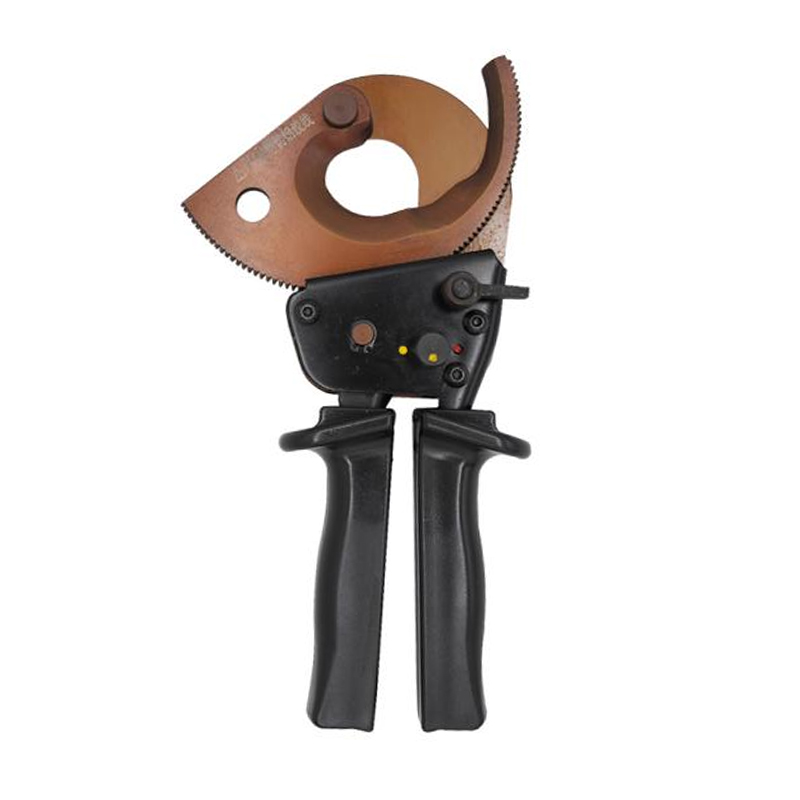
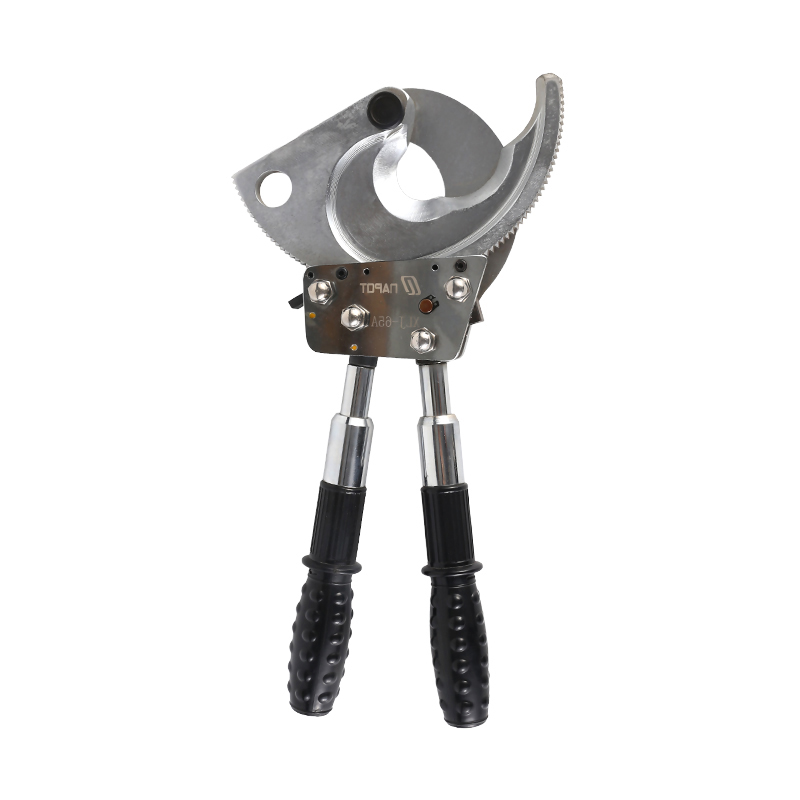
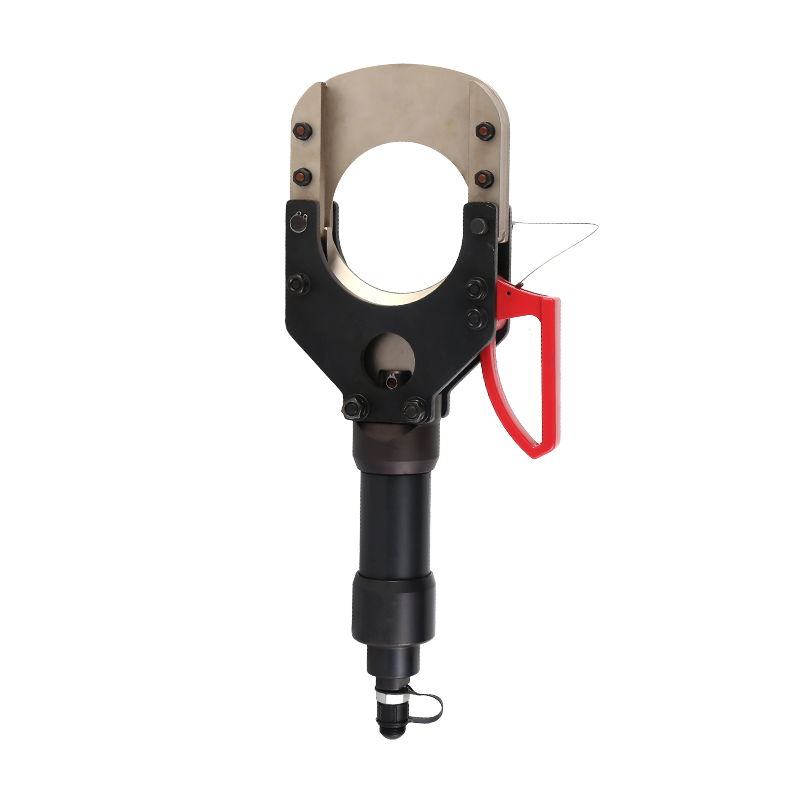
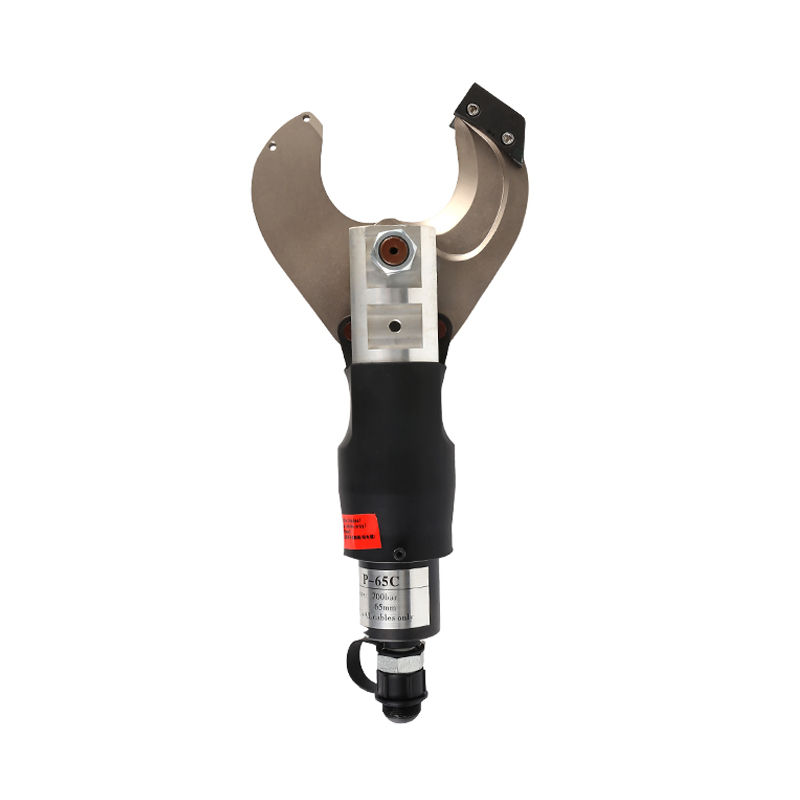
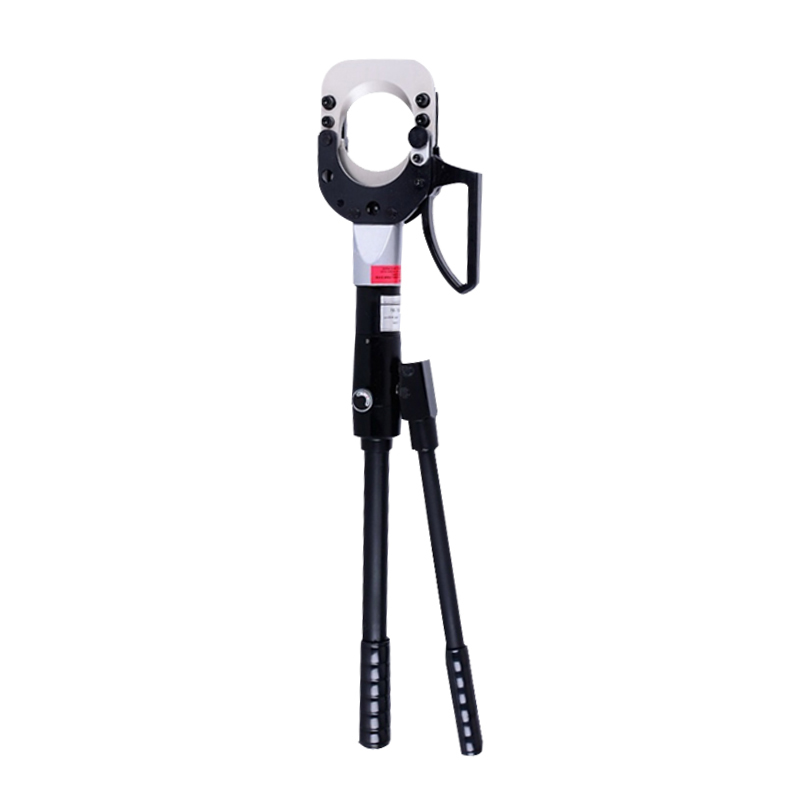
Recommended Products
Copyright © Taizhou Naibo Machinery Co., Ltd. All Rights Reserved.
![]()
Cable Wire Cutting Tool Manufacturer
 English
 Español
 русский
 Français
 Deutsch
 Português